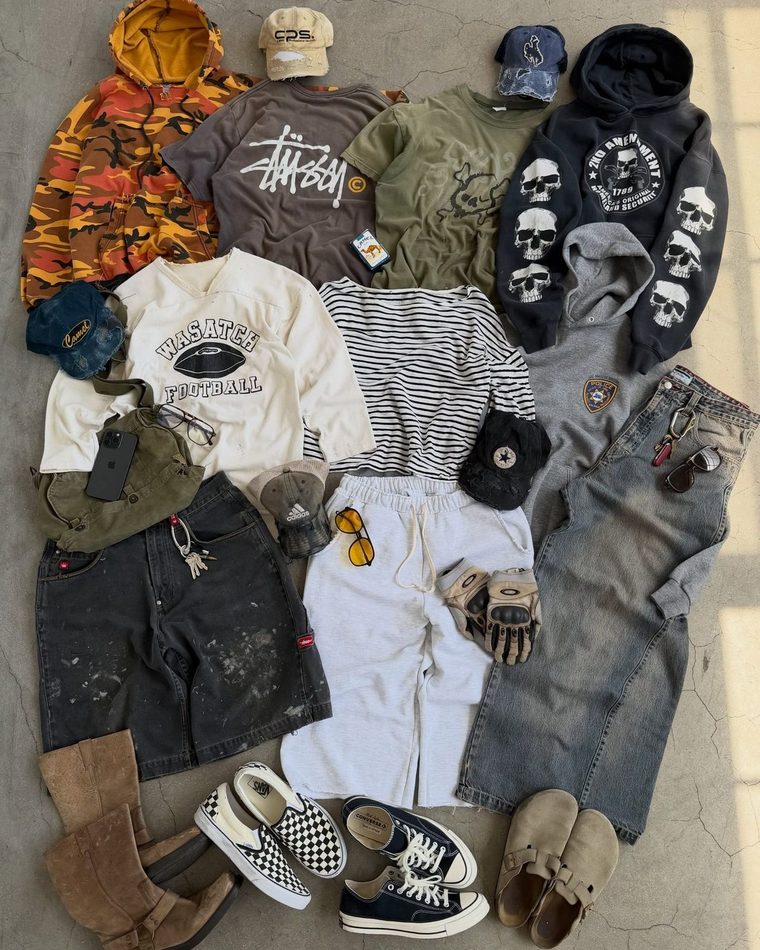
Custom Caps and Beanies: Embroidery and Panel Options
Caps and beanies are the cheapest place to put a logo and the easiest place to get the details wrong. A cap is a three-dimensional pattern with a curved seam line, and embroidery sits on that curve rather than on a flat panel. A beanie is a knit that stretches over a head, so the print or embroidery placed on it at rest will move as soon as it is worn.
This guide covers the decisions that decide whether a headwear drop looks sharp or slightly off: how the crown is built, where embroidery should sit, what knit gauge does to a beanie, and what to write into the specification so a bulk run matches the sample. Our notes on embroidery on heavyweight garments cover the fabric side in more detail; headwear adds its own geometry.
Key Takeaways
- Crown construction decides fit and how embroidery reads: a structured six-panel and an unstructured five-panel are different products, not styling options.
- Mesh backs are forgiving on fit and unforgiving on embroidery, because there is no stable surface behind the needle.
- Embroidery on a cap must be digitised for a curved surface; artwork that works on a flat chest panel will distort across the front panels.
- Knit beanies shrink and stretch by nature, so embroidery is placed and tested on the finished, relaxed knit rather than on a flat swatch.
- Cuff depth and crown height are the two measurements buyers most often skip, and the two that decide whether a beanie sells.
Crown Construction: Panels, Structure and Fit
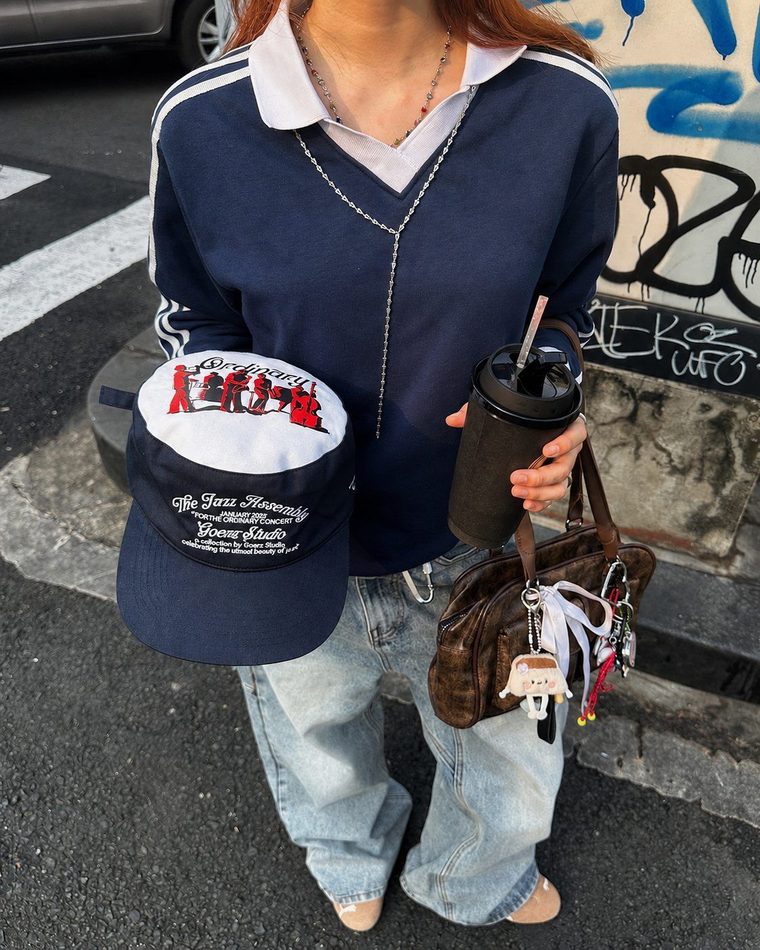
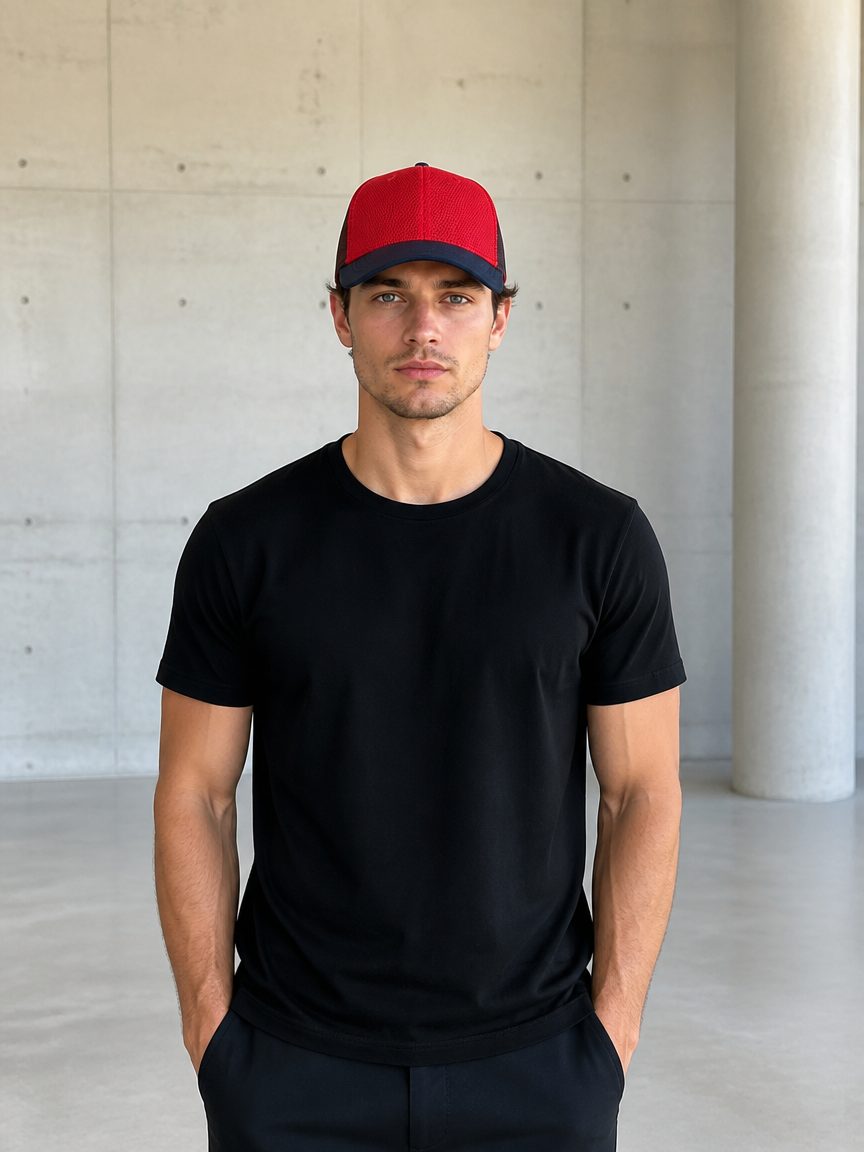
The crown is where a cap is made. A six-panel structured crown with a buckram front holds a shape and gives embroidery a firm surface; a five-panel unstructured crown collapses into the head and reads softer, which suits vintage and workwear directions. Neither is better, but the choice has to be made before the artwork is digitised, because the panel width available for the logo differs.
Panel height is the second number worth fixing. A tall crown suits a streetwear silhouette and gives room for a large front graphic; a low crown sits closer to the head and limits the embroidery to a smaller area. Because the front panels taper toward the top, a logo that is 9cm wide at the base covers more panel than the same logo at the top — a detail that only becomes visible when the sample is made.
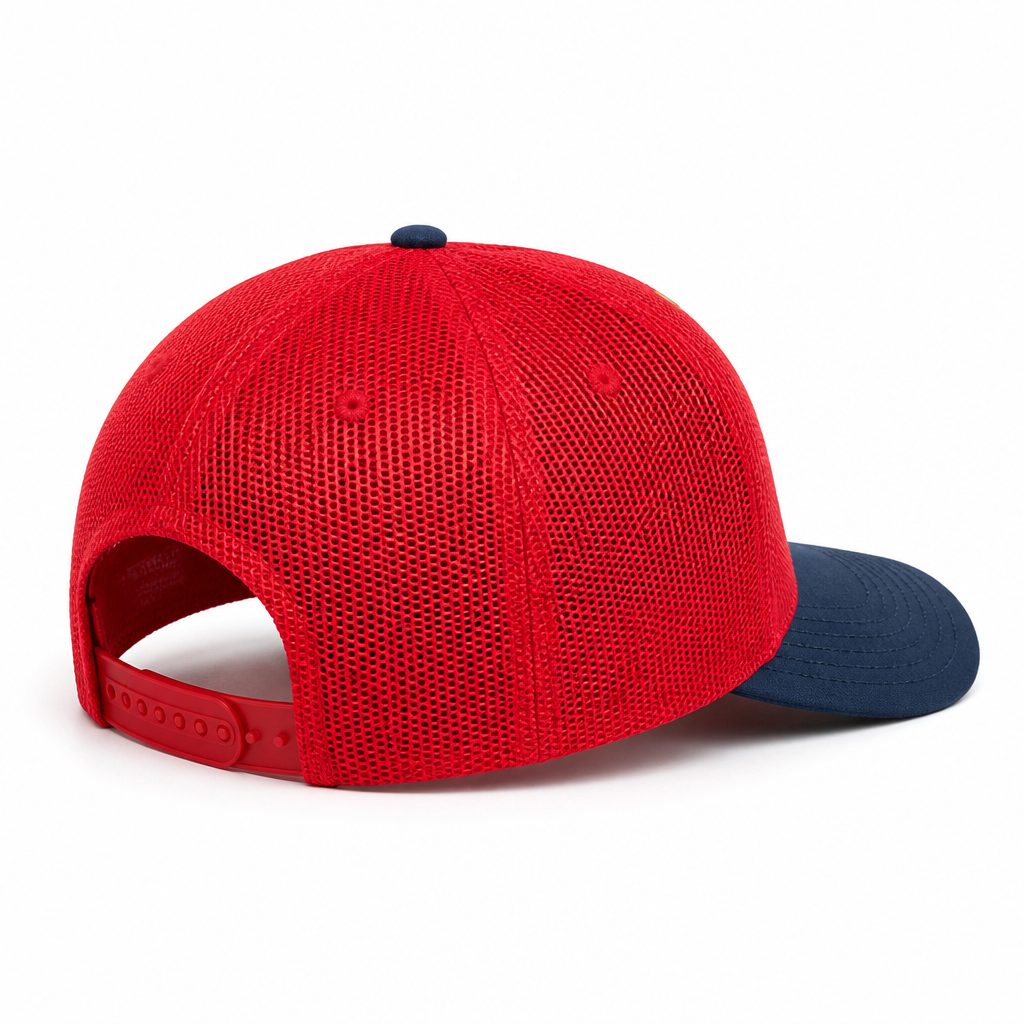
Closure and construction follow: plastic snapback, metal buckle, strapback or fitted. Each changes the back panel pattern and therefore the balance of the cap on the head. On mesh-back styles, the front panel is usually the only stable embroidery surface, so the design has to be planned around that constraint rather than adjusted afterwards.
Embroidery on Caps: Where the Detail Has to Live
Digitising for a cap is not the same as digitising for a flat panel. The stitch file has to be built for the curvature and the seam allowance at the panel joins, with the density reduced where the surface turns away. Files prepared for a chest print will pull, pucker or lose definition at the edge of the cap front.
Placement rules are simple and worth writing down. Keep the tallest part of the design inside the flat area of the front panel rather than running it into the curve. Leave a margin from the centre seam so the two front panels do not split the graphic. On a structured crown, check the embroidery against the buckram edge, because a stitch line that crosses onto the stiffened area reads as a crease.
Small text is the usual failure point. On a curved, small surface, letters below a certain stroke weight fill in, and fine serif details disappear. If the design depends on small type, the honest options are to enlarge it, simplify the letterform, or move the detail to a woven label or a patch where the surface is flat. Headwear also supports 3D puff embroidery and appliqué panels well, and both are easier to control on a cap than on a garment because the print area is small and repeatable.
Beanies: Gauge, Yarn and Cuff Depth
A beanie is a knit, so the numbers that matter are gauge, yarn and cuff depth. A finer gauge gives a smoother surface that takes fine embroidery; a chunky gauge gives the heavy, textured look but limits how much detail can be stitched before the design disappears into the knit structure. Yarn choice then decides how the piece behaves after wear: wool blends keep their shape, acrylic softens and can relax, and blends sit between the two.
Cuff depth is the most visible proportion decision. A deep, folded cuff reads as workwear or fisherman style and adds height to the beanie; a shallow cuff reads cleaner and more minimal. Because the cuff is folded, the circumference at the fold is smaller than the head circumference, which is why a cuff that is too tight leaves a mark and a cuff that is too loose slides up. On a knit, this is controlled by the rib structure rather than by cutting.
Embroidery on knitwear has one rule that overrides the rest: place and test it on the finished, relaxed knit. A design approved on a flat swatch will sit differently once the rib opens over a head, and the same design will look tighter on a small size than on a large one. If the beanie carries a woven label or a folded tag, decide early whether it sits in the cuff seam or on the outer face, because the seam allowance has to be planned for it.
Specifying Headwear Before Sampling
Headwear is small, so the specification is short — but the items in it decide almost everything.
Crown type and panel count. State structured or unstructured, five or six panel, and the crown height. Reference a physical sample where possible; a photo leaves the height open to interpretation.
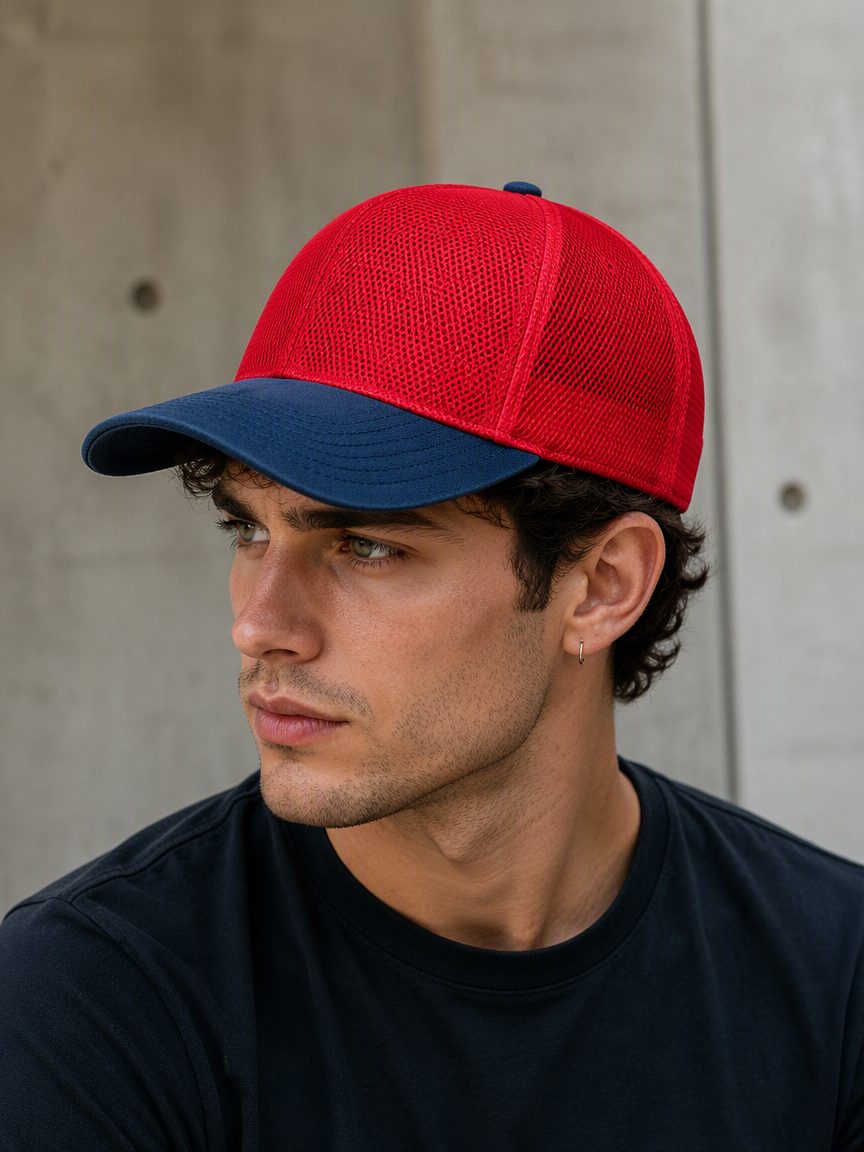
Panel and trim colours. Give each panel its own colour reference, including the brim, the button and the eyelets. Two-tone caps fail on the trim more often than on the main panel.
Embroidery file and placement. Provide the digitised file prepared for the cap front, the stitch count expectation, and the placement measured from the centre seam. State the thread colours against a physical reference rather than a screen colour.
Closure and labelling. Snapback, buckle or strap; woven label position; care label placement inside the sweatband. Our manufacturing and production workflow shows where these approvals sit before bulk cutting.
On quantities and timing, the standard minimum is 100 pieces per style, per colour, with sizes mixable inside a colour, and smaller trial runs can be discussed case by case depending on the construction. Sampling is quoted per style and typically takes two to three weeks depending on the embroidery and the number of colourways. Bulk production for around 100 pieces usually runs about three weeks after sample approval, depending on the requirements and the factory schedule at that moment. Sampling fees are quoted separately and can only be offset against bulk when the bulk volume is large enough, which is confirmed at quotation.
Fabric and trim options for headwear sit inside our fabrics and processes reference, and the full headwear range is listed under custom accessories production.
FAQ: Custom Caps and Beanies
Should I choose a structured or unstructured cap?
Structured crowns hold their shape and give embroidery a firm surface, which suits a clean, sharp logo and a streetwear silhouette. Unstructured crowns collapse into the head and read softer, closer to vintage and workwear. The decision is normally made with the artwork in hand, because a large front graphic needs the panel width and stiffness of a structured crown, while a small chest-style mark works well on an unstructured one.
Can any logo be embroidered on a cap front?
Most logos can, but not at any size or level of detail. The front panels curve away from the needle, so fine strokes and small letterforms fill in, and designs that are wide at the base run onto the curved area. The usual approach is to simplify fine detail, enlarge small type, or move that detail to a woven label or patch. A stitch-out on the actual cap is the only reliable way to judge the result.
What gauge works for embroidered beanies?
A finer gauge gives a smoother surface and holds detail better; a chunky gauge gives a heavier look but limits how much stitch detail survives. The practical rule is to match the gauge to the design: fine lettering needs a finer knit, while large single-colour marks work on chunky ribs. Whichever gauge is chosen, the embroidery is checked on the finished knitted beanie rather than on a flat swatch.
How deep should a beanie cuff be?
Cuff depth sets the proportion and the fit. A deep fold reads as workwear and adds height; a shallow cuff looks cleaner and sits lower. The constraint is the fold circumference, which has to stay comfortable on the head without marking it, so the rib structure and the cuff depth are decided together. Both measurements are worth stating in the specification rather than describing in words.
What is the minimum order for custom caps and beanies?
100 pieces per style, per colour, with sizes mixable inside a colour, and smaller trial runs can be discussed case by case depending on the construction. Headwear is often ordered alongside other accessories in one drop, and mixing styles inside an order does not change the minimum per style. Embroidery setup is per design and per position, so several logos on one order are quoted separately.
How long does sampling and bulk take for headwear?
Sampling is quoted per style and typically takes two to three weeks depending on the embroidery and the number of colourways; a custom knit or a new crown block can extend that. Bulk production for around 100 pieces usually runs about three weeks after sample approval, depending on the requirements and the factory schedule at that moment. International shipping by sea, air, or land is arranged according to the order.
Next step. Send the crown type, the embroidery file and the colour references, and you will get a quotation with a sampling plan. Contact our team to start the review.