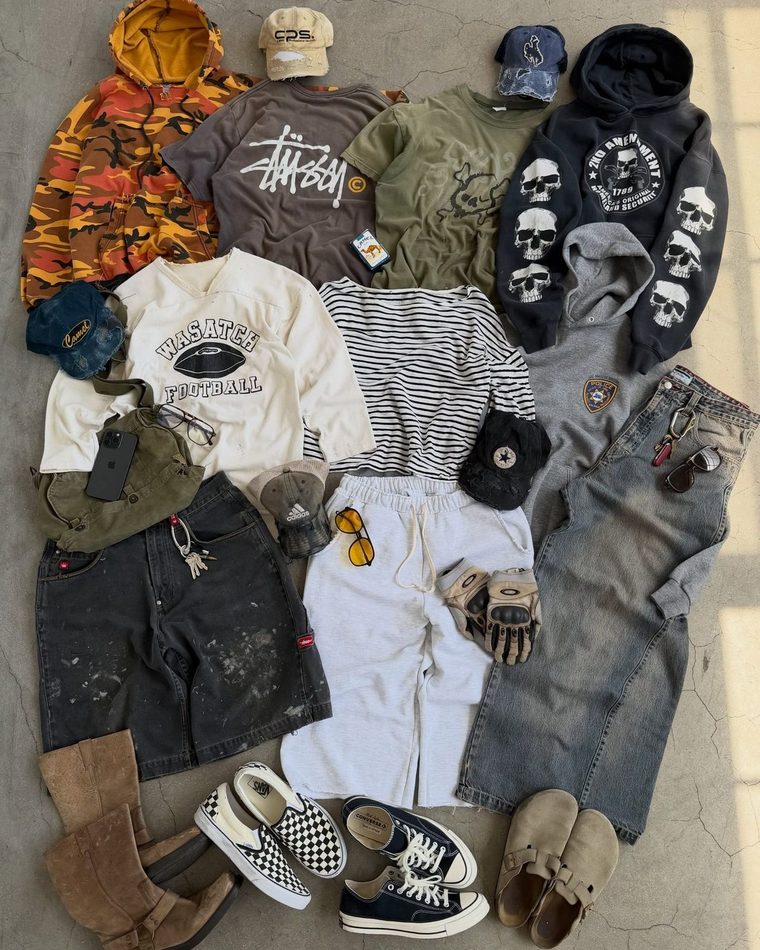
Puff Print, Crack Print and High-Density Print for Streetwear
Three print techniques sit behind most of the texture you see on streetwear today, and buyers often treat them as one family: puff, cracked, and high-density print. They are not interchangeable. Each one changes the stencil, the ink deposit, the curing window, and — most importantly — how the panel behaves after ten washes.
What follows is a production view: the decisions that decide whether bulk output matches the sample you approved. If you are weighing print methods from scratch, our guide on screen printing for streetwear brands covers the base options; this article goes deeper on the three textures that carry most premium graphics.
Key Takeaways
- Puff print height comes from an additive in the ink, so the artwork has to be built with the expansion in mind, not simply converted from a flat file.
- Cracked print is a controlled failure: the crack pattern is set by the stencil and the ink film, and it has to be designed rather than left to chance.
- High-density print needs a thicker stencil and a flatter fabric surface; a slub or heavy-wash panel will show every irregularity at the edge.
- All three effects are temperature-sensitive at the curing stage, which is why a bulk run can differ from a sample produced in a different week.
- Wash-testing a printed panel before bulk approval is the cheapest risk control available on a print-heavy collection.
Puff Print: Building Height on Purpose
Puff ink contains a foaming additive that expands when it passes through the curing tunnel. That single fact governs everything else. The artwork is not the final artwork; the printed graphic will sit higher and spread slightly wider than the file suggests. Lines that are thin in the design can close up or lose their edge, and small type below a certain stroke weight turns into a soft blob.
In practice, that means the file has to be prepared for expansion. Straight edges are more forgiving than fine curves. Solid shapes hold their form better than gradients, because a gradient of ink deposit becomes a gradient of height, which reads as unevenness rather than as shading. If a buyer sends a detailed illustration and asks for it in puff, the honest answer is usually a partial application: puff for the dominant shape, flat print for the detail inside it.
The second variable is the fabric under the print. A heavyweight cotton with a tight knit gives a cleaner dome than a loosely knitted or heavily washed panel where the ink sinks into the texture. On fleece the pile has to be flattened before printing, or the print looks mottled at the edges even with a correct stencil.
Curing is where bulk runs most often drift. Under-cured puff stays tacky and marks in the carton; over-cured puff flattens and loses the height the buyer paid for. Because tunnel temperature and belt speed interact with fabric weight and ink deposit, a factory running several weights in one day has to adjust per style rather than use one setting for everything.
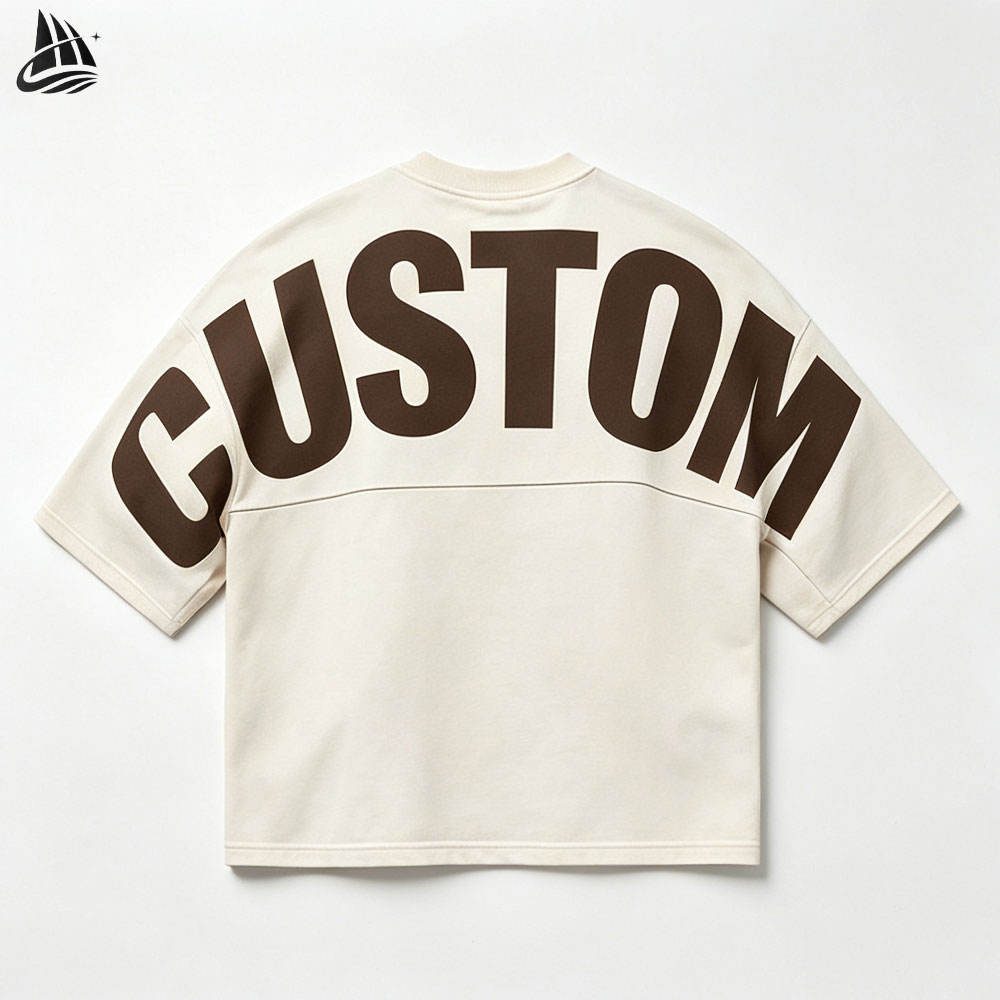
Cracked Print: A Finish That Has to Be Designed
Cracked print is often described as a vintage effect, which makes it sound accidental. It is the opposite. The crack pattern is the result of specific choices: the ink film thickness, the mesh count, the underbase, and the way the print is stretched and washed afterwards. Left to chance, the result is random flaking that looks like a defect. Designed deliberately, it reads as a worn graphic with a consistent character across the run.
There are two broad routes. The first is a physical route: a thinner ink film over a low-opacity underbase, printed so that the surface breaks along the fabric grain during washing. The second is built into the artwork, with the crack lines drawn in and printed as part of the design. The second route is far more repeatable across a bulk order and across reorders months later, because the pattern lives in the file rather than in the behaviour of a particular ink batch.
Whichever route is chosen, the placement of the cracks matters. Cracks that follow the natural stress lines of the garment — across the chest, at the shoulder seam, where the hem pulls — look plausible. Cracks running in a single direction across the whole panel look printed rather than worn. This is a design conversation, and it belongs in the sampling stage, not in the bulk comment sheet.
One more point on durability: a cracked print is intentionally weaker at the crack line. On a high-stretch area the cracks will grow with wear. That may be the intended look, but it should be a decision rather than a surprise, checked on a washed sample.
High-Density Print: Clean Edges and Tight Registration
High-density print uses a thick stencil to lay down a raised, sharply defined film. Where puff is rounded and soft, high density is flat-topped and crisp. That crispness is the whole value of the technique, and it is also what makes it demanding: every irregularity in the fabric surface shows at the edge of the print.
Fabric choice therefore comes first. A tight, flat, well-calibrated jersey gives a clean edge. A slub yarn, a heavy garment wash, or a panel with visible texture will produce a ragged outline no matter how good the stencil is. If the design depends on a sharp silhouette, specify a smooth-face fabric for that panel and keep the washes light.
Registration is the second constraint. High-density film does not forgive a misaligned second colour; the raised edge casts a small shadow that makes any offset obvious. Multi-colour work needs tight registration and a stable panel that does not move during printing, checked at intervals on a large run rather than assumed.
The third constraint is hand feel and drape. A large high-density block stiffens the panel it sits on. On a boxy tee that is often desirable. On a lightweight or draped garment, it can pull the shape out of line. Scale the print to the garment rather than the other way around.
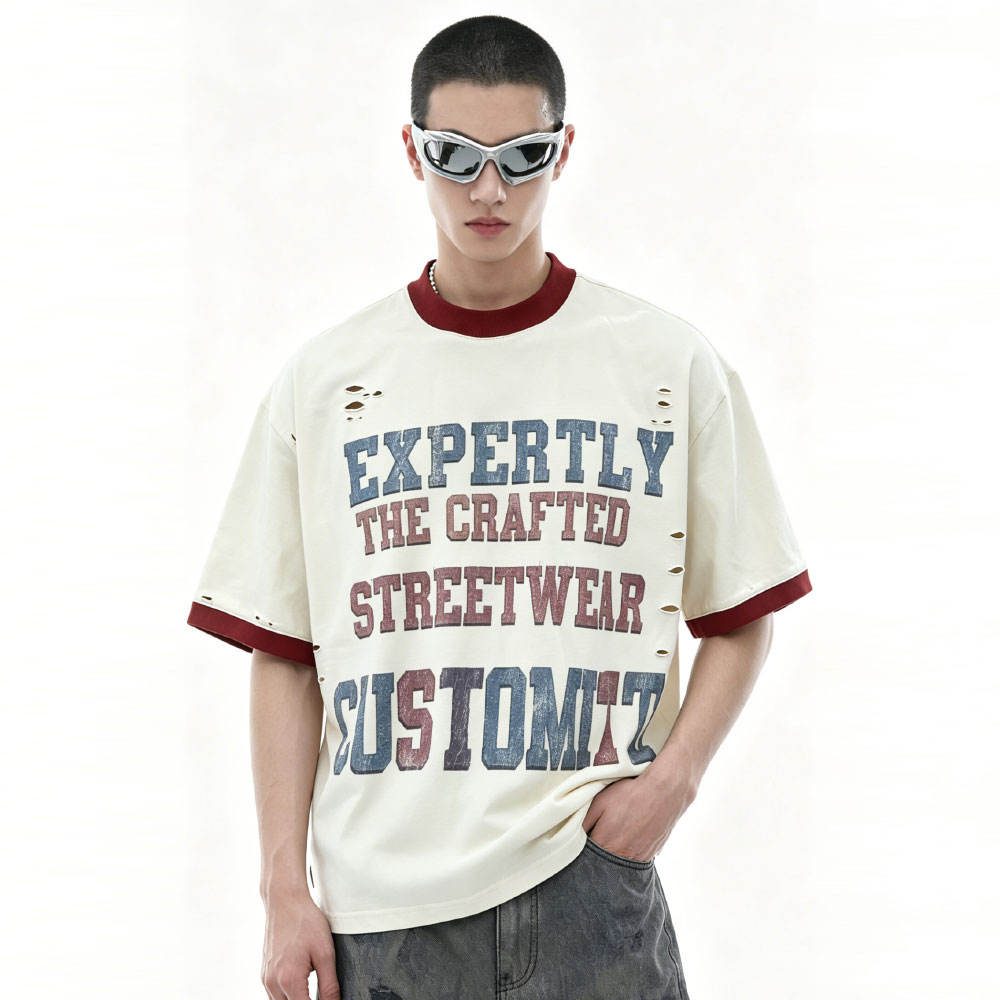
What to Settle Before Sampling
Most print problems that surface in bulk were decided — or left undecided — before the first sample was made. A short, explicit print specification removes most of the ambiguity.
Artwork deliverables. Supply vector artwork with fonts converted to outlines, plus a note on which areas are puff, flat, or high density. A flattened file with no layer information invites interpretation.
Placement and size. Give measurements from a fixed reference such as the collar seam, and state the placement tolerance so it can be measured at inspection.
Fabric and wash interaction. Confirm whether the panel is garment washed, enzyme washed, or washed after printing. The order of operations changes the final appearance, and a print applied before a heavy wash will look different from the same print applied after it.
Wash testing. Ask for a printed panel to be washed and dried on a defined cycle before bulk approval, then compare it against the approved sample. This is the single most useful check on a print-heavy order, and it is far cheaper than discovering a change after the containers leave. Our fabric and process reference explains how wash programmes are specified on our side.
Order quantities and timing. The standard minimum is 100 pieces per style, per colour, with sizes mixable inside a colour, and smaller trial runs can be discussed case by case depending on the construction and the print. Sampling is quoted per style and typically takes two to three weeks depending on the artwork and the number of print positions. Bulk production for around 100 pieces usually runs about three weeks after sample approval, depending on the requirements and the factory schedule at that moment. Sampling fees are quoted separately and can only be offset against bulk when the bulk volume is large enough, which is confirmed at quotation rather than assumed.
Shipping. Printed goods are bulky and can be sensitive to compression in transit. Sea, air, and land freight are all arranged according to the order; the packing configuration should be agreed alongside the print specification so that cartons are not over-compressed on a long sea route.
Print quality and garment quality are separate conversations, and both should be settled before the order goes to the line. Our overview of manufacturing and production workflow shows where print approval sits in the schedule.
FAQ: Puff, Cracked and High-Density Print
Can I combine puff, cracked, and high-density print in one graphic?
Yes, and it is a common way to build depth, but each technique needs its own stencil and often its own print position. Practical combinations are puff for a dominant shape with flat print inside it, or high density for a sharp wordmark with a cracked texture behind it. The limit is registration: the more raised techniques stacked into one small area, the more visible any misalignment. Send the layered artwork with each area labelled and the print plan can be confirmed at sampling.
How much does puff print expand compared with the artwork file?
Expansion depends on the ink, the deposit, and the curing profile, so it is confirmed on a strike-off rather than promised as a fixed figure. What matters for planning is that the printed shape will be slightly larger and slightly softer at the edge than the file. Thin strokes, small type, and fine gaps need to be adjusted before the stencil is cut. A strike-off on the actual fabric is the reliable way to see the real result.
Will a cracked print get worse after repeated washing?
It will develop, because the crack lines are places where the film is intentionally interrupted. Whether that reads as character or as damage depends on how the pattern was designed. Cracks drawn into the artwork and printed deliberately stay visually coherent; cracks that appear randomly from a thin ink film tend to flake unevenly. Wash the approved sample on the cycle your customer will use and judge it at that stage, not from a freshly printed panel.
Which fabric works best for high-density print?
A tight, smooth-faced jersey with a flat surface gives the cleanest edge. Slub yarns, heavy garment washes, and pronounced textures produce a ragged outline under a thick stencil. If the design relies on a sharp silhouette, specify a smooth panel for the printed area and keep the wash light. If the garment must be heavily washed, consider whether the design would read better in flat print or puff instead.
What is the minimum order for printed streetwear?
100 pieces per style, per colour, with sizes mixable inside a colour. Smaller trial runs can be discussed case by case depending on the style, the fabric, and the number of print positions. Print setup is per position and per colour, so splitting one graphic across several colourways affects the quotation; this is normally reviewed together with the artwork before sampling starts.
How long does sampling and bulk take for a print-heavy order?
Sampling is quoted per style and typically takes two to three weeks, longer when several print techniques are combined or when a custom wash is involved. Bulk production for around 100 pieces usually runs about three weeks after sample approval, depending on the requirements and the factory schedule at that moment. International shipping by sea, air, or land is arranged according to the order and the destination.
Next step. Send the layered artwork, the fabric you have in mind, and the placement measurements, and you will get a print plan with a sampling schedule and a quotation. Contact our team to start the review, or browse custom tops production to see the garment bases these prints are applied to.